How to Create Visual Guard Custom Roles
Employees at varying levels or positions are often involved in application access control and security. The security policy of their company defines what kind of operations each employee can make.
Visual Guard provides ready-to-use roles to give administration rights to each type of actor. For example, the “Administrator” Role allows you to act on users, roles and permission sets, but not on applications, permissions or actions, while the “Auditor” role only allows read-only access to a repository and consultation of the event log.
When a user has one of these roles, Visual Guard automatically applies the corresponding permissions, whether they are using the Windows Console, the WebConsole or the VG APIs.
However, the access rights of these VG roles cannot be modified.
It may be the case that these roles do not exactly correspond to a company’s security policy.
In this case, how can you give each type of actor the access rights they need?
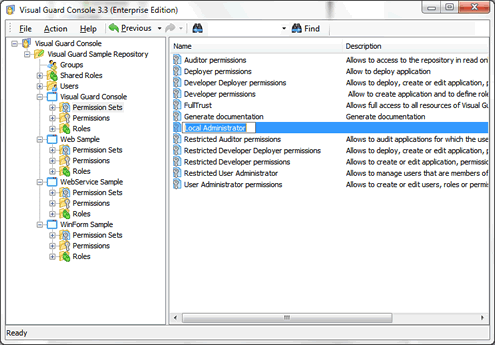
Visual Guard offers the possibility of creating “Custom Roles”, composed of a selection of system permissions proposed by VG. For example, you can create a Custom Role “Local Administrator” that can only consult the list of users, but can create roles and attribute them to users.
The procedure to create Custom VG roles is as follows:
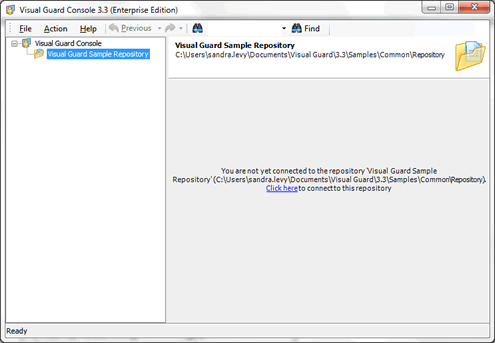
- Open Visual Guard
- Select your repository and connect to it by clicking “Click here”.
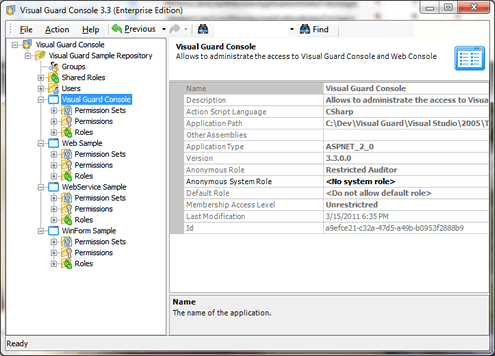
- Once connected, select your application in the treeview
- In the category “Roles”, right-click and select “New Role”
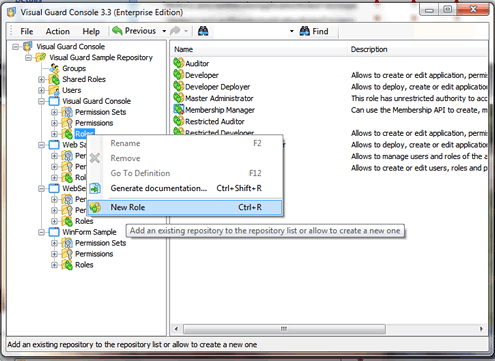
This new role does not yet have permissions.
For this, you must first create a new “Permission Set” that will contain the permissions associated with this role:
- In the treeview, right-click on “Permission Sets” and select “New Permission Set”.
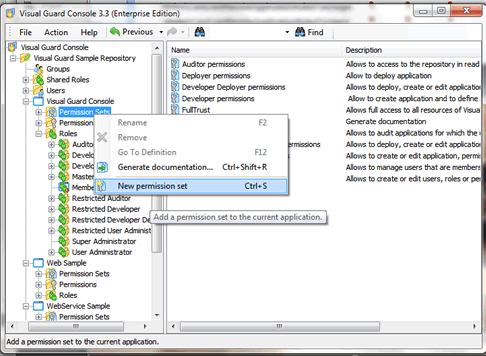
- Rename it as “Local Administrator permission set” in the list of Permission Sets
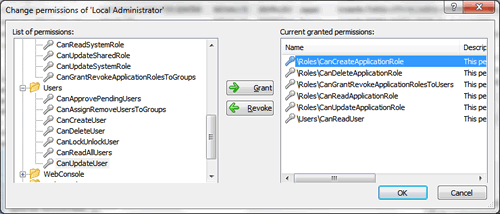
We will now define the permissions accorded to the Local Administrator role
- Select “Local Administrator permission set” in the treeview
- Associate the permissions that allow the consultation of users and the management of roles (see screenshot)
You now have a “Local Administrator” role that exactly responds to your requirements.