OR
| Other Solutions: |
Other Products: Visual Guard - PowerBuilder and .Net Security Visual Expert - Maintenance of PowerBuilder applications Enable - localization and translation of PowerBuilder Projects Appeon - PowerBuilder to web deployment Customization Studio - Let non-developers customize PowerBuilder apps Other Resources: Novalys - PowerBuilder and .NET Companion Tools PowerBuilderTV - PowerBuilder Webcasts Worldwide PowerBuilder Survey |
| Converted from CHM to HTML with chm2web Pro 2.85 (unicode) |
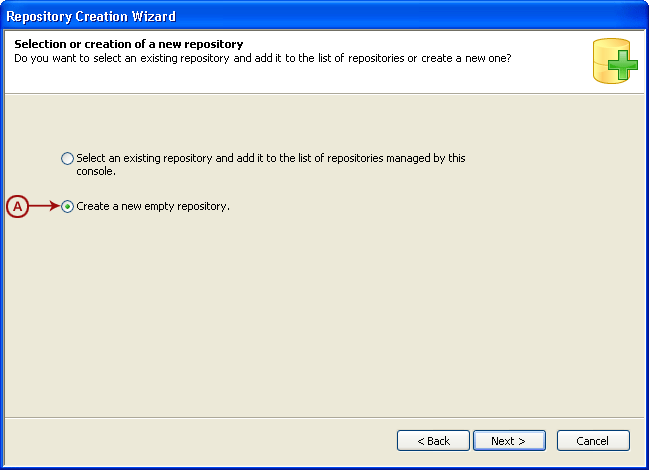
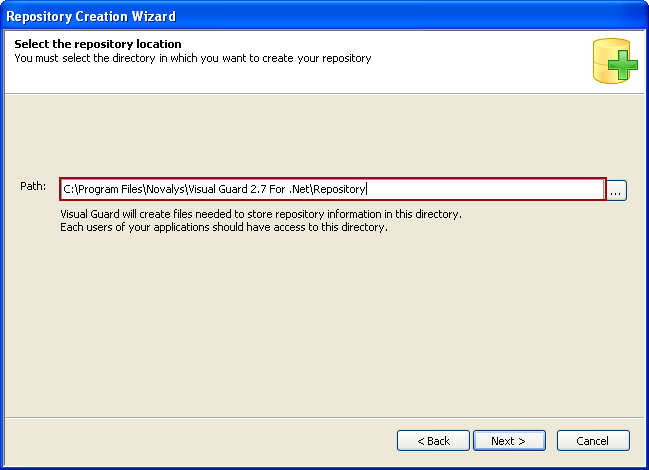
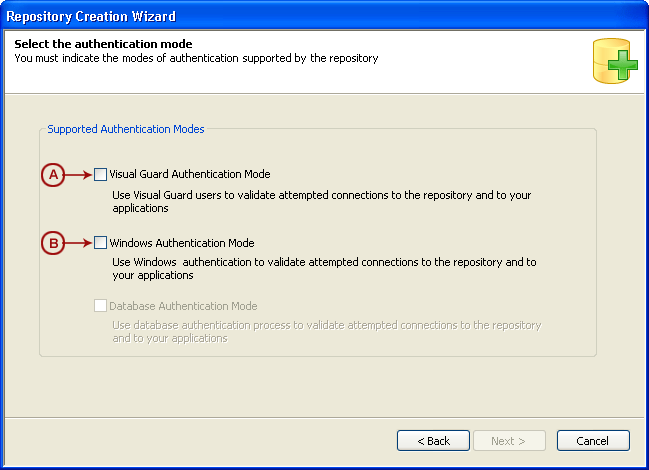
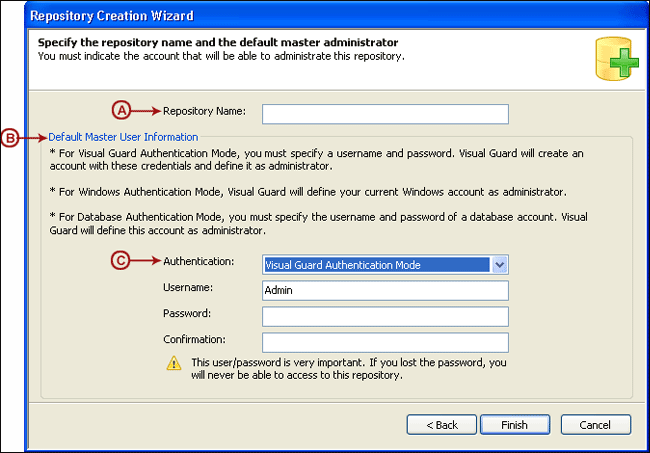
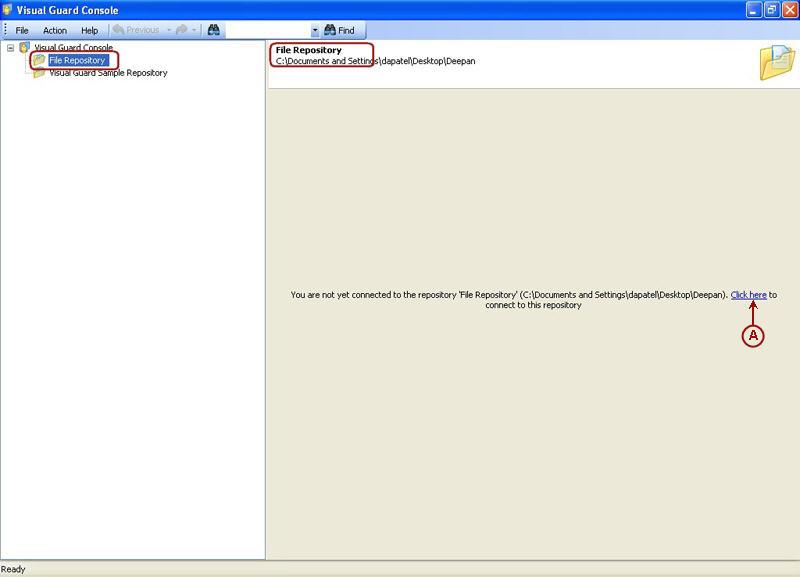
 (A).
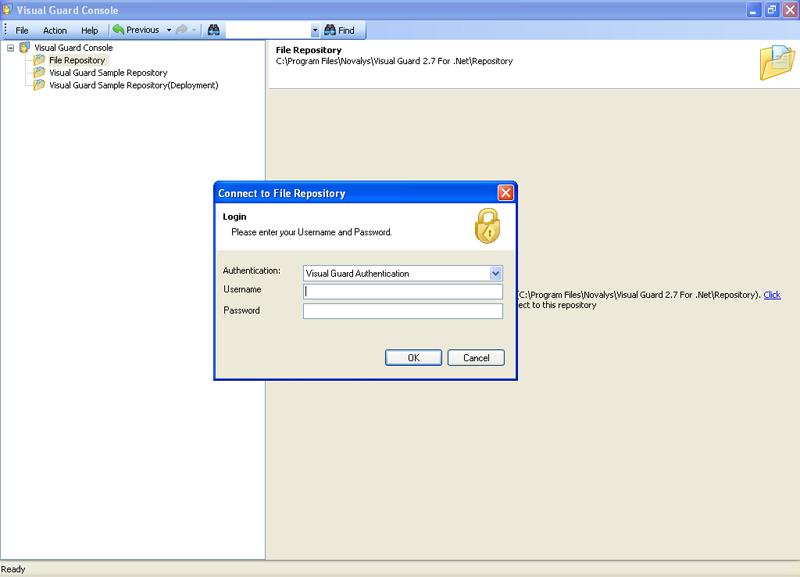
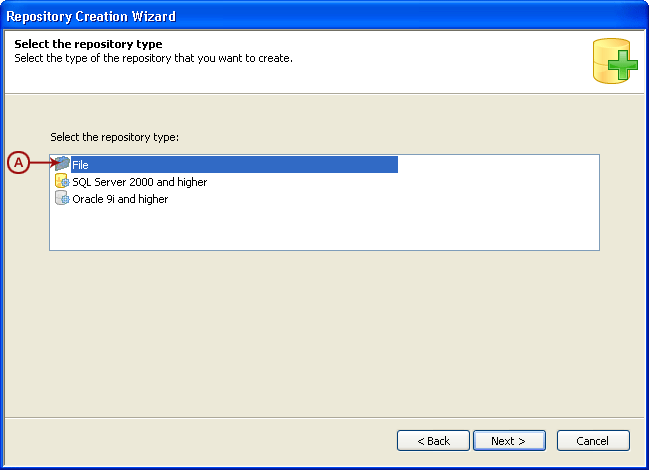
(A).