
|
Open the Repository Deployment Wizard screen.
Click here for more information. |
|
|
Click  to proceed. to proceed. |
|
|
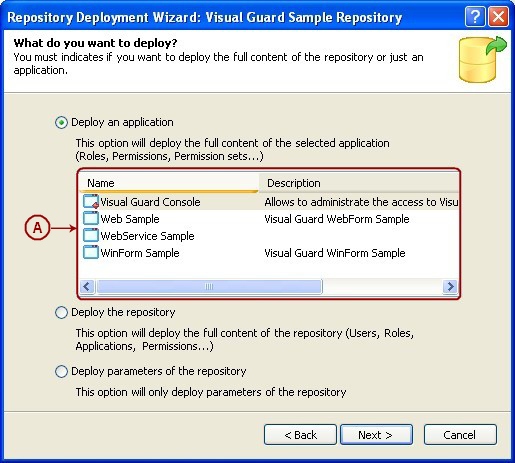
Select Export data in a deployment configuration file
> Deploy an application option from the wizard. |
|
|
|
| |
Screen Display |
|
|
|
| |
|
|
|
|
|
|
List of all applications integrated with the repository will be
listed. |
|
|
Select any one of the application from the list
(A) and click to continue. |
|
|
The screen below will be displayed. |
|
|
|
| |
Screen Display |
|
|
|
| |

|
|
|
|
|
|
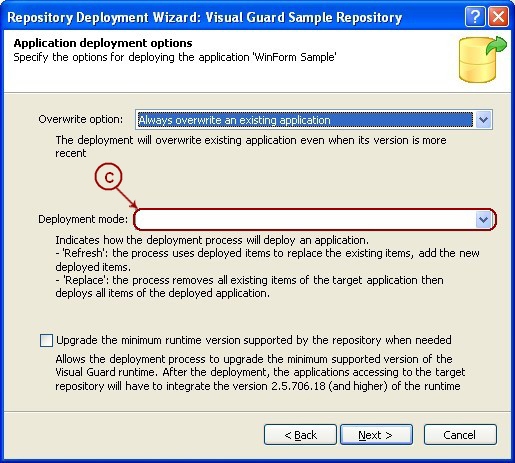
Click  to select the Overwrite
option (B). to select the Overwrite
option (B). |
|
|
A dropdown list will appear. |
|
|
Following are the list of available overwrite options: |
| |

|
Do not overwrite an existing application |
|
|
Overwrite when the deployed version is more recent than the
existing application |
|
|
Overwrite when the deployed version is equal to the existing
application |
|
|
Overwrite when the deployed version is
equal to or more recent than the existing application |
|
|
Always overwrite an existing application |
|
|
|
Select any one of the available overwrite options. |
|
|
|
| |
Screen Display |
|
|
|
| |
|
|
|
|
|
|
Click to select the Deployment
mode (C). |
|
|
A dropdown list will appear. |
|
|
Following are the list of available deployment mode: |
| |
|
|
Refresh: the process
uses deployed items to replace the existing items, add the new
deployed items. |
|
|
Replace: the process
removes all existing items of the target application then deploys
all items of the deployed application. |
|
|
|
Select any one of the available deployment modes. |
|
|
|
| |
Screen Display |
|
|
|
| |

|
|
|
|
|
|
Select the  box if you want to upgrade the minimum runtime version
supported by the repository when needed (D). box if you want to upgrade the minimum runtime version
supported by the repository when needed (D).
Note: The options allows the deployment process to
upgrade the minimum supported version of the Visual Guard runtime.
After the deployment, the applications accessing to the target
repository will have to integrate the version 2.5.706.18 (and
higher) of the runtime. |
|
|
Click to proceed. |
|
|
The screen below will be displayed. |
|
|
|
| |
Screen Display |
|
|
|
| |
|
|
|
|
|
|
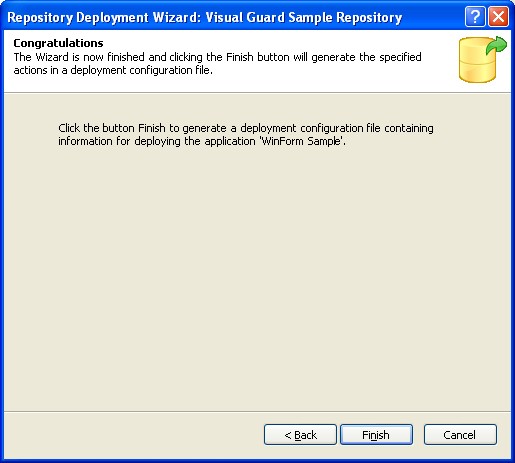
Click  to complete the deployment
wizard. to complete the deployment
wizard. |
|
|
On clicking , you will be asked to
save the configuration file. |
|
|
|
| |
Screen Display |
|
|
|
| |
|
|
|
|
|
|
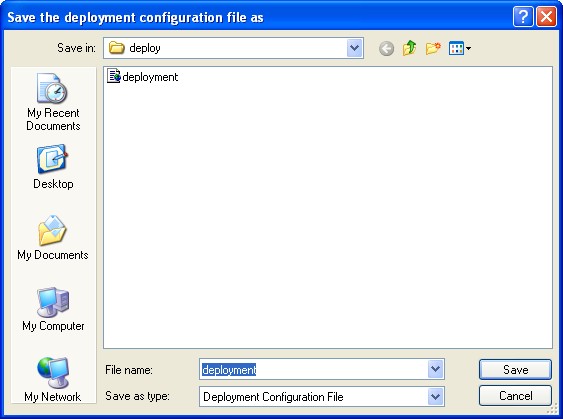
Enter the file name and click  . . |
|
|
The configuration file will be saved and will be available at
the saved path. |

