
|
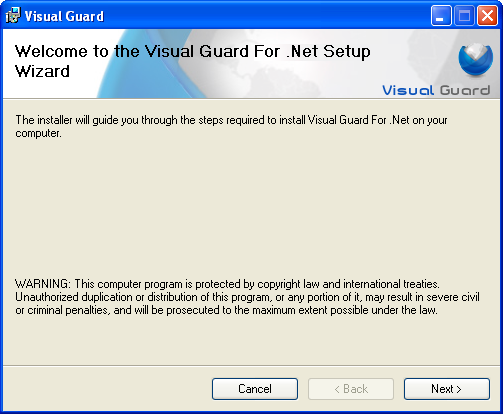
Double-click on the installation file  icon. The screen below will be displayed. icon. The screen below will be displayed. |
|
|
|
|
|
Screen Display |
|
|
|
|
|
|
|
|
|
|
|
Click  to continue with the
installation. to continue with the
installation. |
|
|
|
|
|
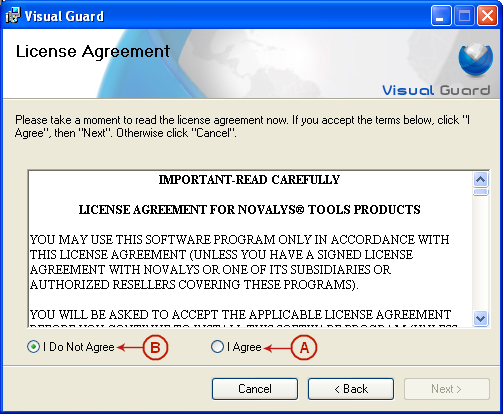
Screen Display |
|
|
|
|
|
|
|
|
|
|
|
Read the license agreement. Select
I Agree (A) option, if you accept the terms or
click on I Do Not Agree (B) option if you
disagree. |
|
|
On selecting I Agree (A) option, will be enabled as shown below. |
|
|
|
|
|
Screen Display |
|
|
|
|
|

|
|
|
|
|
|
Click to proceed with the
installation. |
|
|
|
|
|
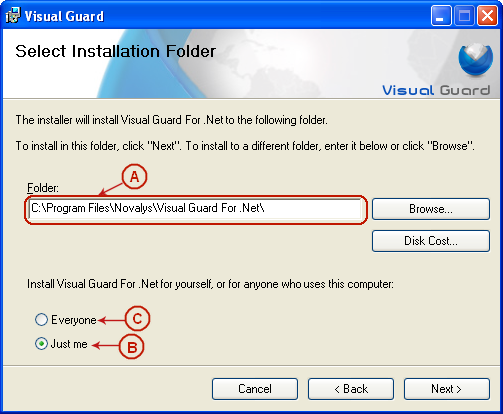
Screen Display |
|
|
|
|
|
|
|
|
|
|
|
Select the location to install Visual Guard by
clicking  . . |
|
|
The selected location will be displayed in the Folder
(A). |
|
|
You can click  to see the availability
and required space for installation. to see the availability
and required space for installation. |
|
|
Select whether you want Visual
Guard .Net for the current user of the machine or every
user by selecting Just Me (B) or Everyone
(C) respectively. |
|
|
Click to proceed with the
installation. |
|
|
|
|
|
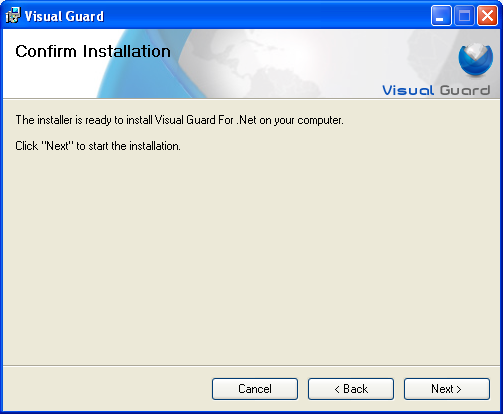
Screen Display |
|
|
|
|
|
|
|
|
|
|
|
Click to start the installation or click  to make any changes. to make any changes. |
|
|
On clicking , the installation process
will start as shown below. |
|
|
|
|
|
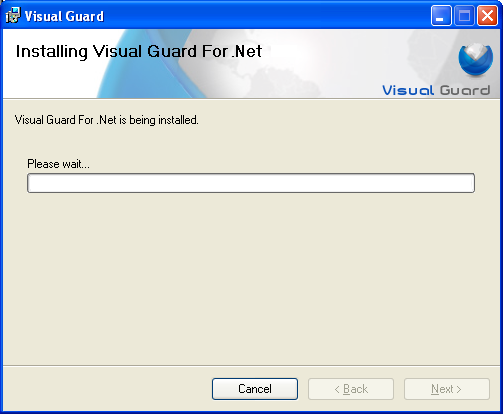
Screen Display |
|
|
|
|
|
|
|
|
|
|
|
Once the installation is complete, the screen below will be
displayed. |
|
|
|
|
|
Screen Display |
|
|
|
|
|

|
|
|
|
|
|
Click  to exit the installation. to exit the installation. |

