 |
Login to the Repository. |
|
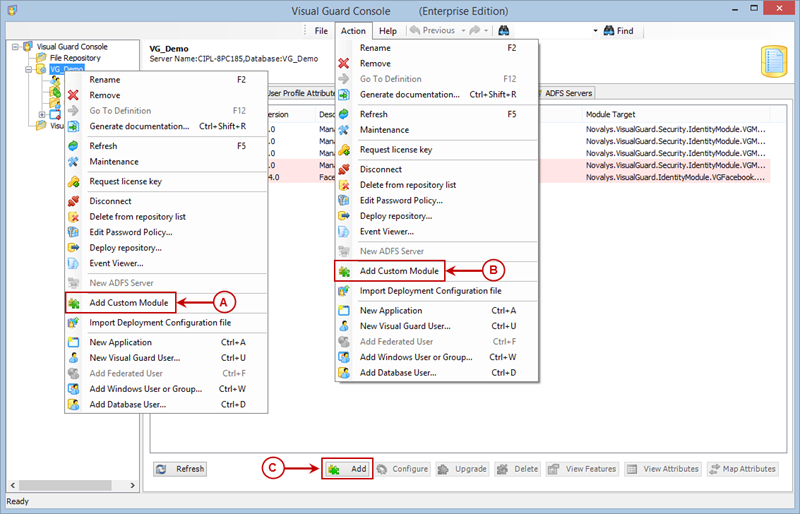
Click on the Modules tab (A), as shown in the below screen. |
|
|
| |
Screen Display |
|
|
| |
 |
| |
|
|
You can access the Add Custom Module option through the following ways. |
| |
 |
Right click on the repository name and select the Add Custom Module menu item from the Repository context menu. (A) |
| |
|
|
Select Add Custom Module menu item from Action Menu. (B) |
| |
|
|
Click on the Add Custom Module button at the bottom of the Right Navigation Panel. (C) |
|
| |
|
| |
|
|
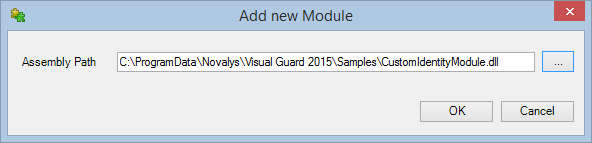
Add Custom Module Popup will be displayed as shown below. You need to provide the path of the dll file here. |
|
|
| |
Screen Display |
|
|
| |
 |
|
|
|
You can directly paste the path of the dll file or Browse the file by clicking on the  button. button. |
|
After entering the assembly path click  to add the dll file. to add the dll file. |
|
Click  to cancel the operation. to cancel the operation. |
|
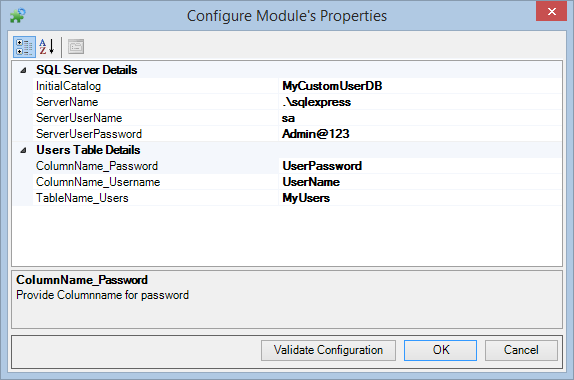
You will be provided with configuration screen of the Module added allowing you to view and modifying the details |
|
|
|
Screen Display |
|
 |
|
|
|
If required, you can validate the credentials. Click  to continue. to continue. |
|
|
|
Screen Display |
|
|
|
 |
|
|
|
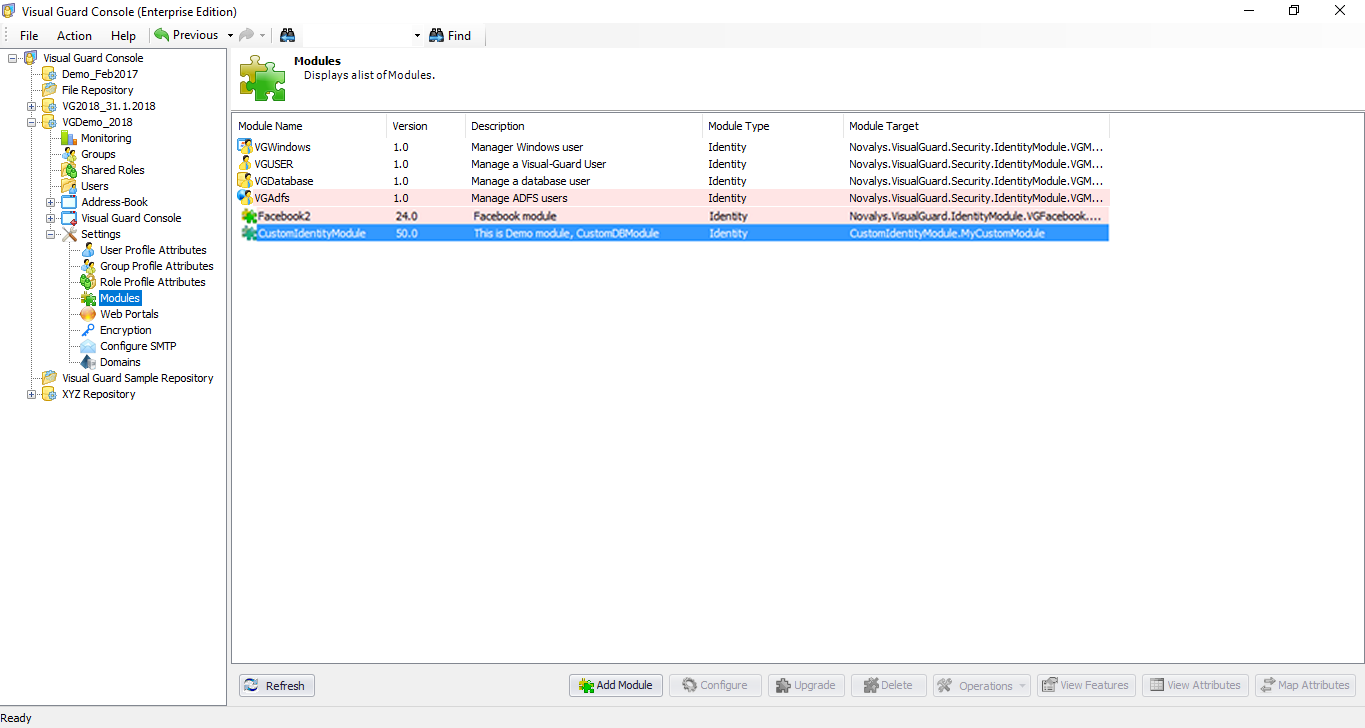
The new module will be added to the list of Modules, as shown in the above screen. |
| |
|
| See Also |
|
|
|